0
0
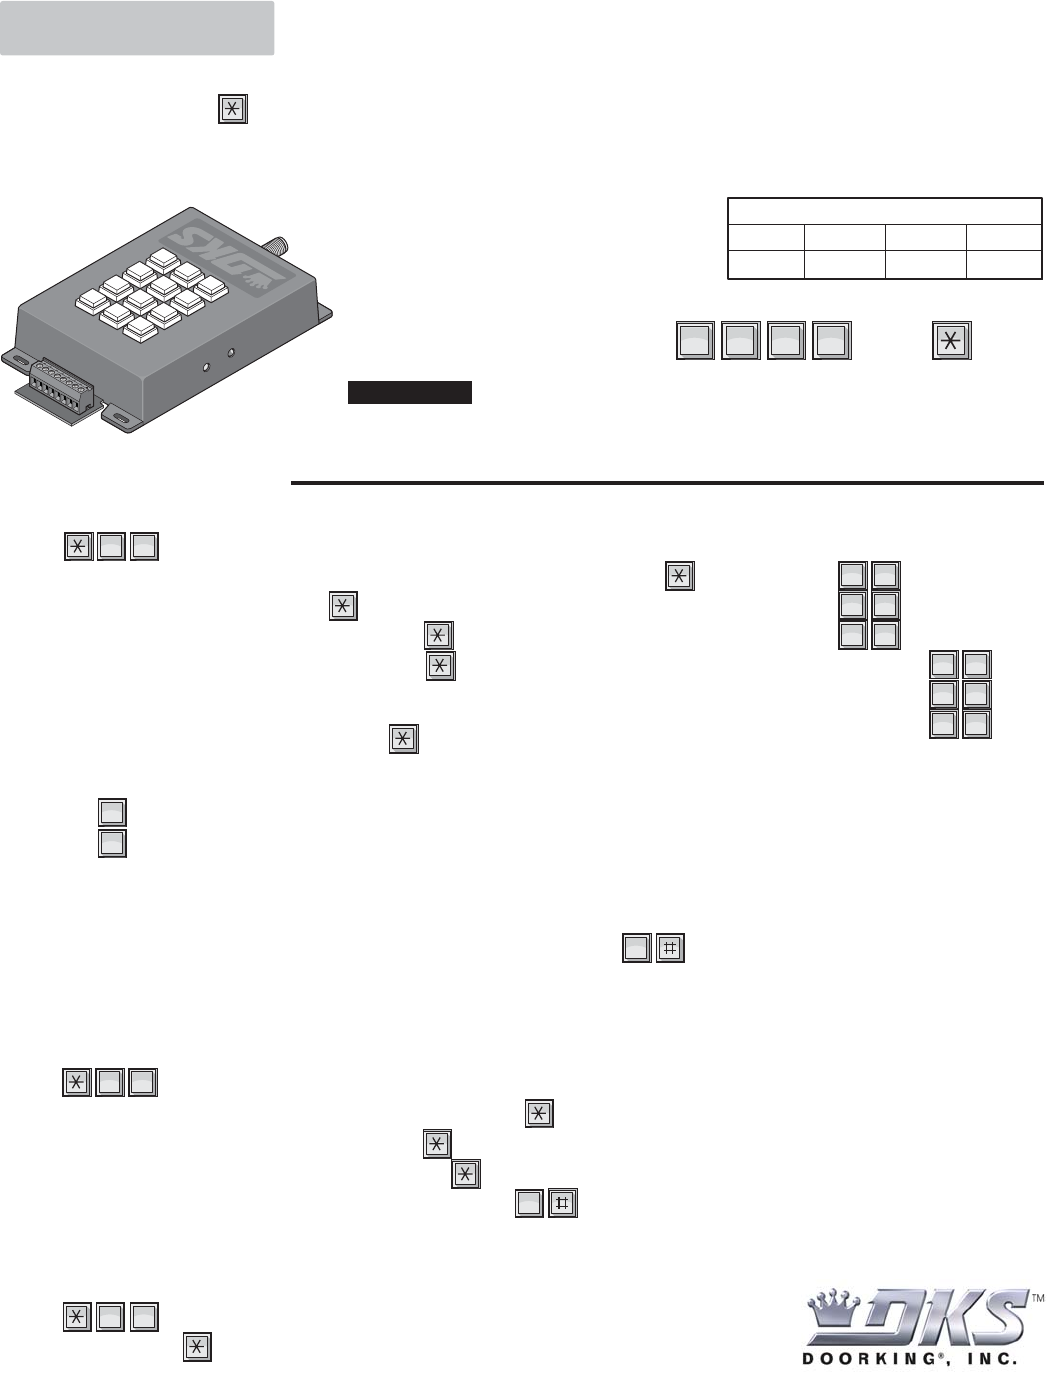
Programming
Program the Master Code: The master code is
the four-digit number required to gain access to the
receiver memory for all programming. You MUST
program a MASTER CODE first.
Programming BEEPS: The receiver is equipped with a “beeper” to help guide you through the programming steps. When required data has
been entered correctly and the key is pressed, a
“BEEP” will be heard. A “BEEEEEEEEEP” indicates programming has ended successfully OR
there has been NO data input for 20 seconds. Four (4) long beeps in a row indicates that an error has occured (Examples: Data was entered
incorrectly, not enough memory to store all transmitters or receiver is in real time printing mode but printer is not connected or not turned on).
120 Glasgow Avenue
Inglewood, California 90301
U.S.A.
? ? ? ?
any four numbers
then press
“BEEP”
2. Choose and enter four-digits on the keypad
1. Press Master Code Button
Important Note: Keep this instruction sheet for future reference after writing down the master
code . There is NO way of retrieving the master code after it has been programmed in. If you
forget it, you will have to program in a new master code but all other previously programmed
information will remain intact.
1
2
3
4
5
6
7
8
RF LED
Master Code
Button
#
*
1
2
3
4
5
6
7
8
9
0
Keypad
Write Down Your Master Code
1st Digit
2nd Digit 3rd Digit
4th Digit
Add a Transmitter: Unique codes located on back of transmitter (Five-digit Transmitter Code - Tr) and (Four-digit Facility Code - Fc).
1. Press and the four-digit Master Code.
2. Enter the two-digit transmitter button number that the receiver is to respond to, then press
3. Enter the four-digit facility code, then press Note: Valid facility codes are 0000 - 4095.
4. Enter the LOWEST five-digit transmitter code, then press
5. Enter the HIGHEST five-digit transmitter code, then press
Note: Valid transmitter codes are 00000 - 65407.
If adding a single transmitter, the lowest and highset five-digit number will be the same.
6. Enter the single-digit Time Zone number, then press
Note: Valid Time Zones are 0 - 9.
There are 10 available time zones. Time zones 2 - 9 are programmable (See “Programming Time Zones” programming on next page).
Entering will never allow access to the transmitter(s) being programmed.
Entering will always allow access to the transmitter(s) being programmed.
7. Repeat steps 2 - 7 to enter an additional transmitter or block of transmitters or press at the same time or simply wait 20 seconds
to end the programming. A
“BEEEEEEEEEP” will be heard when finished.
1 0
0
1
“BEEP”
“BEEP”
“BEEP”
“BEEP”
“BEEP”
“BEEP”
10
20
30
21
32
31
Button 1 -
Button 2 -
Button 3 -
Buttons 1&2 together -
Buttons 2&3 together -
Buttons 1&3 together -
When programming a block of transmitter numbers, the receiver will
“BEEP” every three seconds.
Wait for this beeping to stop before proceeding with any other programming.This may take up to five
minitues depending on the memory size and the number of transmitters being programmed.
Delete a Transmitter One at a Time: Unique codes located on back of transmitter (Five-digit Transmitter Code - Tr) and
(Four-digit Facility Code - Fc).
1. Press and the four-digit Master Code.
2. Enter the two-digit transmitter button number to be deleted, then press
3. Enter the four-digit facility code to be deleted, then press
4. Enter the five-digit transmitter code to be deleted, then press
3. Repeat steps 2 - 4 to delete additional transmitters if desired or press at the same time or simply wait 20 seconds
to end the programming. A
“BEEEEEEEEEP” will be heard when finished.
1 2
“BEEP”
“BEEP”
“BEEP”
“BEEP”
Delete ALL Transmitters at Once: WARNING: Deleted transmitters CANNOT be retrieved.
1. Press and the four-digit Master Code.
2. Enter 9999, then press
3. After approximately 1 1/2 minutes of
“BEEPS” every three seconds, one long “BEEEEEEEEEP” will be
heard when finished.
1 3
“BEEP”
“BEEP”
 (8 pages)
 Manymanuals.com
 Manymanuals.de
 Manymanuals.fr
 Manymanuals.it
 Manymanuals.pl
 Manymanuals.cz
 Manymanuals.es
 Manymanuals-pt.com
Comments to this Manuals